
Last updated October 16, 2026
 Water damage drying
 Fire & smoke cleanup
 Mold remediation
 Storm response
 Sewage cleanup
 Reconstruction
Free visual inspection and a written scope of work before any mitigation begins - photos, moisture readings, and drying logs go in your claim file
The scope we write is the scope we bill. Anything new gets shown to you, in writing, before we touch it.
Get your free estimateWater Damage Restoration Maintenance Checklist for San Diego Homeowners
Here’s a number that catches most San Diego homeowners off guard: the most common source of water damage in our city isn’t a burst pipe or a leaking roof. It’s failed caulk and grout in showers. A $12 tube of caulk breaks down, water seeps behind the tile for months or years, and by the time anyone notices the baseboard staining or the musty smell, the subfloor and framing have been quietly rotting. The repair at that point regularly runs $3,500 or more. This guide walks you through what to check, what early failure actually looks like, and what it costs when a small issue gets ignored in a San Diego home. You’ll finish with a room-by-room inspection plan, seasonal timing that matches our local climate, and the moisture meter thresholds that tell you when to stop watching and start calling.
Restoration work we handle
Quick Answer
A water damage prevention checklist for San Diego homeowners should cover four areas year-round: shower and tub caulking, irrigation connections at the foundation, water heater condition, and appliance supply lines. Run the full inspection twice a year, with extra attention to roof tiles and exterior drainage before the November through March rain window. Any moisture meter reading above 20% inside a wall or floor warrants a professional assessment, because hidden moisture at that level supports mold growth within 48 to 72 hours.
Table of Contents
- Shower Caulk and Grout: The $12 Problem That Becomes a $3,500 One
- Irrigation Systems and Foundation Water Intrusion in San Diego
- Water Heaters and San Diego’s Hard Water Corrosion Problem
- Appliance Supply Lines and Hidden Cabinet Leaks
- Seasonal Roof and Exterior Checks for the November – March Rain Window
- How to Use a Moisture Meter and What the Numbers Mean
- Building a Dated Maintenance Log for Insurance Claims
- Common Mistakes to Avoid
- When to Call a Professional
- Frequently Asked Questions
- The Bottom Line
Shower Caulk and Grout: The $12 Problem That Becomes a $3,500 One
Every shower in San Diego eventually fails at the seams. Caulk and grout are sacrificial materials. They crack, shrink, discolor, and pull away from tile over time, and our coastal humidity plus frequent shower use accelerates the cycle. The question isn’t whether you’ll replace caulk. It’s whether you catch the failure before water reaches the wood behind the tile.
Here’s what early failure looks like in plain terms:
- Caulk that has turned brown, pink, or black at the edges: That’s mold eating into the silicone. The seal is already compromised, even if the caulk still looks intact from a foot away.
- Grout lines with hairline cracks running horizontally: Shower pans flex slightly with weight and temperature changes. When grout cracks along the pan-to-wall transition, water follows gravity straight into the subfloor.
- Tiles that sound hollow when tapped with a coin: A solid “thud” means the tile is still bonded. A higher-pitched “click” means the adhesive has let go, and moisture has been at work behind that tile.
- Baseboard staining on the wall behind or beside the shower: By the time you see this, the leak has been active for months. The stain is water wicking up through the drywall from below.
We’ve opened shower walls in Clairemont, Rancho Bernardo, and Chula Vista where the tile looked fine from the outside and the framing behind it had the structural integrity of wet cardboard. The homeowners had done nothing wrong. They just didn’t know that caulk has a service life of roughly 5 to 7 years in a daily-use shower, and grout needs resealing every 12 to 18 months.
Here’s the maintenance sequence that prevents this:
- Inspect every shower and tub surround every 6 months. Mark it in your phone calendar. Use a flashlight and look at the corners, the pan-to-wall joint, and around the drain.
- Remove failed caulk completely. Scrape it out with a plastic tool. Don’t caulk over old caulk. New silicone won’t bond to old silicone, and you’ll create a sandwich seam that fails in months.
- Clean the joint with rubbing alcohol and let it dry fully. Silicone will not stick to a damp or soapy surface. This is the step most DIY caulk jobs skip, and it’s why they peel.
- Apply 100% silicone caulk designed for kitchens and baths. Expect to pay $8 to $16 per tube. One tube covers roughly 25 linear feet.
- Do not use the shower for 24 hours. Silicone cures by reacting with moisture in the air, but it needs time to form a durable skin. Using the shower early ruins the cure.
If you’re seeing water stains on the ceiling below a second-floor bathroom, or the drywall behind a shower wall feels soft when you press it, the problem has already moved past caulk and grout. That’s when you need a professional assessment. More details on what a full restoration involves are on our Water Damage Restoration in San Diego page.
Irrigation Systems and Foundation Water Intrusion in San Diego
San Diego is one of the few places in the country where the watering system is a year-round active water source pointed at the house. In other climates, sprinklers get winterized and blown out. Here, irrigation runs through the dry season and often overlaps with the start of the rain window in November. That means the soil around your foundation is getting wet from two directions at once.
The failure pattern we see repeatedly in San Diego neighborhoods like Scripps Ranch, Carmel Valley, and La Mesa is this: an irrigation valve positioned within 3 feet of the foundation develops a slow drip at a threaded connection. The drip soaks the soil. The soil expands. Hydrostatic pressure builds against the slab or stem wall. Water finds a hairline crack, a cold joint, or a plumbing penetration, and it enters the garage, the crawlspace, or the first-floor wall cavity.
Here’s what to check at each irrigation zone:
- Every valve manifold: Look for water in the valve box, green algae staining, or soil that stays dark and damp between watering cycles. A valve box should be dry. If it’s not, a valve or fitting is leaking.
- Every sprinkler head within 6 feet of the foundation: Spray patterns drift. Over time, heads get bumped by gardeners, kids, or mowers, and suddenly they’re misting the stucco instead of the lawn. Stucco is porous. Repeated wetting stains it and can migrate moisture into wall cavities.
- The main irrigation supply line where it passes under a walkway or driveway: Tree roots in San Diego, especially from ficus and liquidambar, will crush or shift irrigation pipe. Telltale sign: a section of mulch or soil that’s suspiciously green and lush while everything around it is dormant.
- Drip irrigation emitters near the house: Emitters clog and people compensate by increasing run time. A clogged emitter next to the foundation can focus water at one point for hours every week. Check that emitters are flowing and positioned at least 12 inches from the structure.
If you notice a musty smell in a room that sits below grade, or you see a thin white mineral line on the inside of a foundation wall (that’s efflorescence, the minerals left behind when water evaporates from concrete), you have active water intrusion. The irrigation system is the first place to look in San Diego because it’s the water source most homeowners forget to inspect.
One more note: if you have a whole-house water pressure regulator, check that your irrigation system runs on the regulated side. San Diego municipal water pressure routinely exceeds 80 psi in many neighborhoods, and irrigation valves rated for 60 psi will eventually fail at the diaphragm. A failed diaphragm can hang a valve partially open, which keeps water flowing slowly through a zone even when the controller says it’s off. That’s how a foundation stays wet for months without anyone realizing it.
Water Heaters and San Diego’s Hard Water Corrosion Problem
San Diego’s municipal water supply is hard. We’re talking 250 to 350 parts per million of dissolved minerals depending on the source blend in any given month. That mineral load settles in the bottom of every water heater tank and accelerates corrosion at a rate that surprises homeowners moving here from softer-water regions. A standard tank water heater that might last 12 to 15 years in Seattle or Portland often fails at 8 to 10 years in San Diego without regular flushing.
The danger point is the tank-to-fitting connections and the pressure relief valve. Here’s what to look for:
- Rust or blue-green mineral crust at the cold inlet and hot outlet fittings: This is galvanic corrosion where the copper pipe meets the steel tank nipple. It starts as a pinprick and turns into a drip. The drip may be slow enough that it evaporates before you see water, but the mineral crust remains as evidence.
- A pressure relief valve that weeps or shows mineral buildup at the discharge pipe: The T&P valve is a safety device. When it drips, either the valve has failed or the tank pressure is too high. Both need attention. A T&P valve that’s been corroded into place by hard water may not open when it should, which is a genuine safety hazard.
- Popping or rumbling sounds when the burner fires: That’s mineral scale insulating the bottom of the tank. The steel overheats, the glass lining cracks, and the tank starts rusting from the inside, where you can’t see it.
- Water on the floor around the base of the heater: By the time a tank leaks visibly, the internal failure is complete. Shut off the water supply to the heater and call a plumber or a restoration company if the water has spread. A 40-gallon tank releases 40 gallons, and that water will find its way under baseboards, into closets, and through ceiling drywall if the heater is upstairs.
Flushing a water heater in San Diego is a year-round maintenance item, not an annual one. Here’s the basic process if you’re comfortable doing it yourself, and if you’re not, a plumber will charge roughly $100 to $180.
- Turn the heater to pilot or shut it off at the breaker. If it’s gas, set the gas valve to “pilot.” If it’s electric, flip the breaker.
- Connect a garden hose to the drain valve at the bottom. Run the hose to a bucket, floor drain, or outside. But here’s the catch with San Diego hard water: the drain valves on tanks that haven’t been flushed in years are often plugged with sediment. You may need to clear the opening with a wire.
- Open a hot water tap somewhere in the house. This breaks the vacuum so the tank drains.
- Open the drain valve and let the tank empty. Watch the water that comes out. Milky or sandy-looking water is mineral sediment leaving the tank.
- Close the drain valve, remove the hose, refill the tank, and restore power. Run a hot tap until the water flows without sputtering to clear air from the lines.
If the water that comes out during the flush is dark brown or has visible rust flakes, the tank lining has failed. Replacement is the only repair at that point. Expect to pay $1,200 to $2,200 installed for a standard 40 to 50 gallon tank in San Diego, or more for a heat pump or tankless unit.
Appliance Supply Lines and Hidden Cabinet Leaks
The second most common water damage source in San Diego homes, after shower failures, is the braided stainless steel supply hose behind a washing machine, under a kitchen sink, or feeding a refrigerator icemaker. These hoses are rated for 5 to 8 years. The rubber liner inside degrades, and when the braided jacket follows, the hose fails under full house pressure. A washing machine supply hose that bursts while you’re at work can release 6 to 10 gallons per minute into the laundry room, and it won’t stop until someone shuts off the water.
In our experience, the failure is almost never the washing machine itself. It’s the hose, and it’s the hose because nobody looks at it until there’s water on the floor.
Here’s the appliance check that takes 20 minutes:
- Washing machine supply hoses: Look for rust at the crimped metal ends, bulges in the hose body, or cracks in the rubber visible through the braid. If the hoses are more than 5 years old and you can’t verify the install date, replace them. New braided hoses cost $15 to $25 a pair at any hardware store.
- Under-sink supply lines and shutoff valves: Open the cabinet and look. Touch every connection with a dry finger. Corrosion at the shutoff valve stem means the valve is leaking slowly. Slow leaks under sinks destroy cabinet bases and the subfloor beneath them, and because the cabinet hides everything, they run for months.
- Refrigerator icemaker line: If it’s a clear plastic tubing, replace it with braided stainless. Plastic icemaker lines are the single most common appliance leak we see in kitchens. The tubing gets brittle with age and cracks at the push-to-connect fitting.
- Dishwasher supply and drain connections: Pull the lower kick panel off and look with a flashlight. Dishwasher leaks are usually at the water inlet valve on the bottom left or at the drain hose connection. Water damage from a dishwasher leak shows up as swollen cabinet sides, warped flooring in front of the unit, or peeling laminate on adjacent cabinet faces.
- Under-sink reverse osmosis systems: These have four or five push-in fittings that depend on rubber O-rings. O-rings shrink with age and temperature cycling. If the RO system is more than 7 years old and you’ve never replaced the filters, the fittings are due for a check. Press on each fitting and watch for water beading.
Here’s the key maintenance habit: every time you change a filter, clean a trap, or fix anything under a sink, take 30 seconds to run your fingers along every fitting and check the cabinet floor with a flashlight. You’re looking for water, and you’re looking for telltale water marks, mineral residue, or dark staining on the cabinet base. Those marks tell you a leak existed at some point, even if it’s dry right now.
If cabinet floors feel spongy or the cabinet base has a visible warp, water has been soaking into the particle board. Particle board doesn’t dry back to flat. It swells permanently and loses strength. That’s a replacement item, and while you’re in there, check for mold growth on the back of the cabinet and the drywall behind it. Mildew smells in a kitchen almost always trace to a slow under-cabinet leak.
Seasonal Roof and Exterior Checks for the November – March Rain Window
San Diego gets roughly 10 to 12 inches of rain in an average year, and nearly all of it falls between November and March. The rest of the year is dry, sunny, and warm, which means two things. First, our roofs spend 8 months of the year baking in UV, which ages tiles, shingles, flashing, and sealant faster than in wetter climates. Second, when rain does arrive, it arrives on a roof that may have developed cracks and gaps during the long dry stretch, and the first storm reveals every weakness at once.
Santa Ana wind cycles add another local variable. Wind in San Diego doesn’t just dry things out. It physically shifts roof tiles, lifts ridge caps, and drives dust and debris into roof valleys and gutter systems. After a strong Santa Ana event, tile roofs in areas like Tierrasanta, Poway, and Alpine frequently show displaced tiles that break the weather seal and leave the underlayment exposed.
The pre-rain inspection should happen in October, before the first storm, and a lighter check should follow any wind event over 40 mph. Here’s the checklist:
- Walk the perimeter of the house and look at the roof line from the ground. You’re looking for cracked, curled, or missing tiles, and for any tile that looks shifted out of line with its neighbors. Use binoculars from across the street if the roof is steep. Don’t climb onto a two-story tile roof without fall protection. A fall from a roofline is a life-changing injury, and it’s not worth the inspection.
- Check roof flashings at every penetration: Plumbing vents, exhaust fans, skylights, and chimneys all have metal or rubber flashings. Rubber pipe boots crack with sun exposure and look like a mosaic of fine cracks. Failed pipe boot flashing is one of the most common leak sources we trace during the rainy season.
- Clear gutters and downspouts: In San Diego, eucalyptus leaves, pine needles, and palm fronds load gutters fast. A clogged gutter overflows, and the water runs down the fascia and into the soffit. From there it can wick into attic framing and show up as a ceiling stain weeks after the rain has stopped.
- Check downspout discharge points: Every downspout should discharge at least 5 feet from the foundation. If the downspout dumps water at the base of the wall, the foundation soil becomes saturated during storms, and you’ll see water intrusion through slab cracks or weep holes. Extend downspouts with plastic pipe or splash blocks. Both are under $30.
- Walk the perimeter of the foundation after the first heavy rain. Look for water ponding against the house, and check interior walls in any rooms on the downhill side. Water follows gravity, and San Diego’s hillside lots mean the downhill foundation wall takes the soil water from the entire lot above it.
If you find a leak during a storm, the first step is always to stop the active water. Put a bucket under it, move furniture, and if water is coming through a ceiling, poke a small drain hole at the lowest point of the bulge so the water releases in a controlled place rather than spreading across the drywall and collapsing the whole section. Then call a restoration company. For a broader look at what our water damage restoration process covers, including how we handle roof leak mitigation and structural drying, see the Water Damage Restoration in San Diego service overview.
How to Use a Moisture Meter and What the Numbers Mean
A moisture meter is a $30 to $50 tool that every San Diego homeowner should own, and almost nobody does. It’s a handheld device with two metal pins that you press into wood, drywall, or other building materials. The meter measures electrical resistance between the pins and converts it to a moisture content percentage. Wood that reads below 12% is dry. Wood that reads above 20% is wet enough to support mold and rot. Drywall should read below 10%. Anything above 15% in drywall means active water intrusion.
Here’s how to use one usefully:
- Buy a pin-type moisture meter. The cheap ones work fine for homeowner checks. You don’t need the $400 professional equipment. Look for a meter that reads both wood and drywall scales. The General Tools MMD4E runs around $35 and does the job.
- Calibrate your own baseline. Test an area of the house you know is dry, like a bedroom wall on an interior partition. Note the reading. That’s your reference number. You’re looking for readings significantly above that baseline, not absolute perfection.
- Test suspect areas: Around the base of shower walls, under sink cabinets, near the water heater, at the base of exterior walls after rain. Press the pins firmly into the surface. The meter will give you a reading in 1 to 2 seconds.
- Map the findings: If one spot reads 18% and the wall 3 feet away reads 8%, you have a localized moisture source. The gradient tells you where the water is coming from.
- Track over time: Write down readings. If a wall reads 20% after a storm and 14% two days later, it’s drying. If it stays at 20% or climbs, there’s an active leak feeding it.
Threshold numbers that warrant a professional call:
- Wood framing above 20%: Mold can grow, and structural decay begins. Call a professional.
- Drywall above 15%: Drywall loses strength above 15% and will crumble when touched above 20%. If it’s wet, it’s coming out.
- Concrete or masonry that reads consistently “wet” on a relative scale: Pin meters aren’t great on concrete, but a reading that spikes and stays high indicates active water movement through the slab.
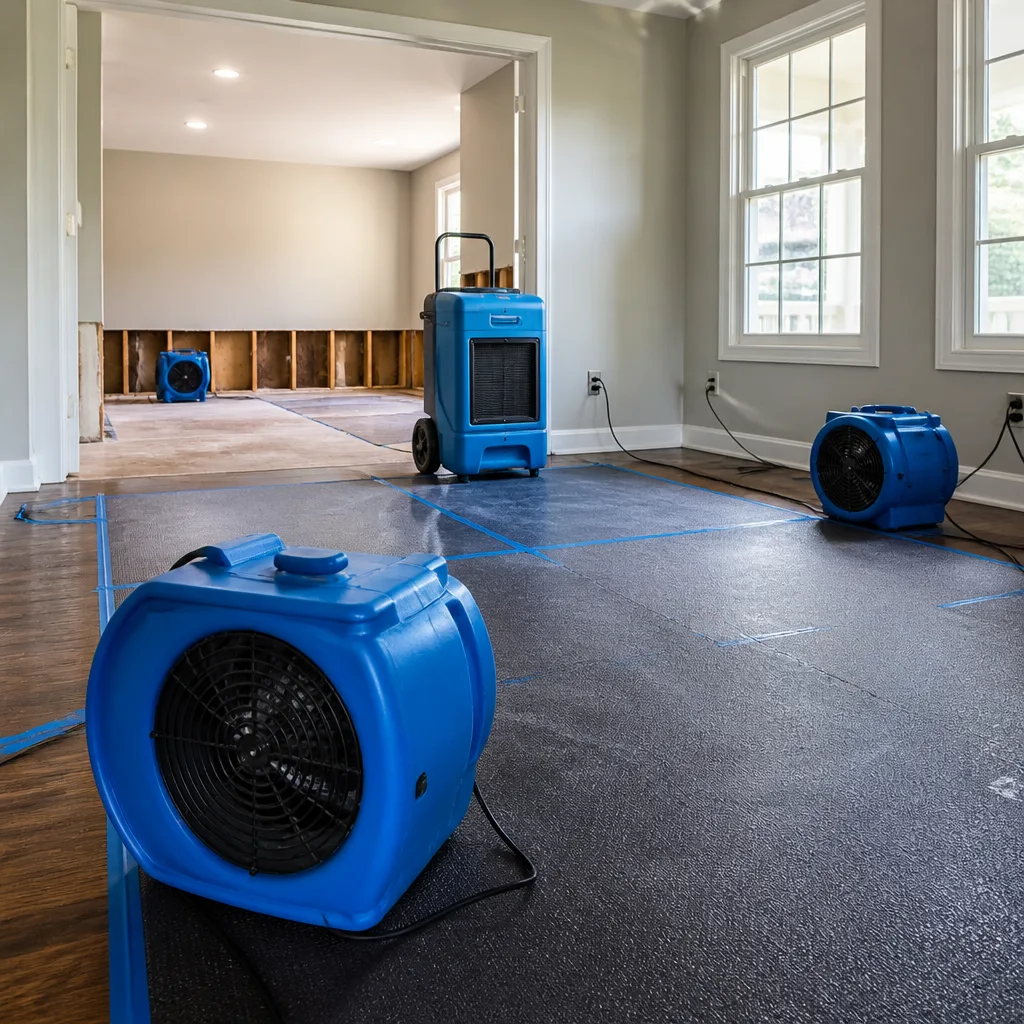
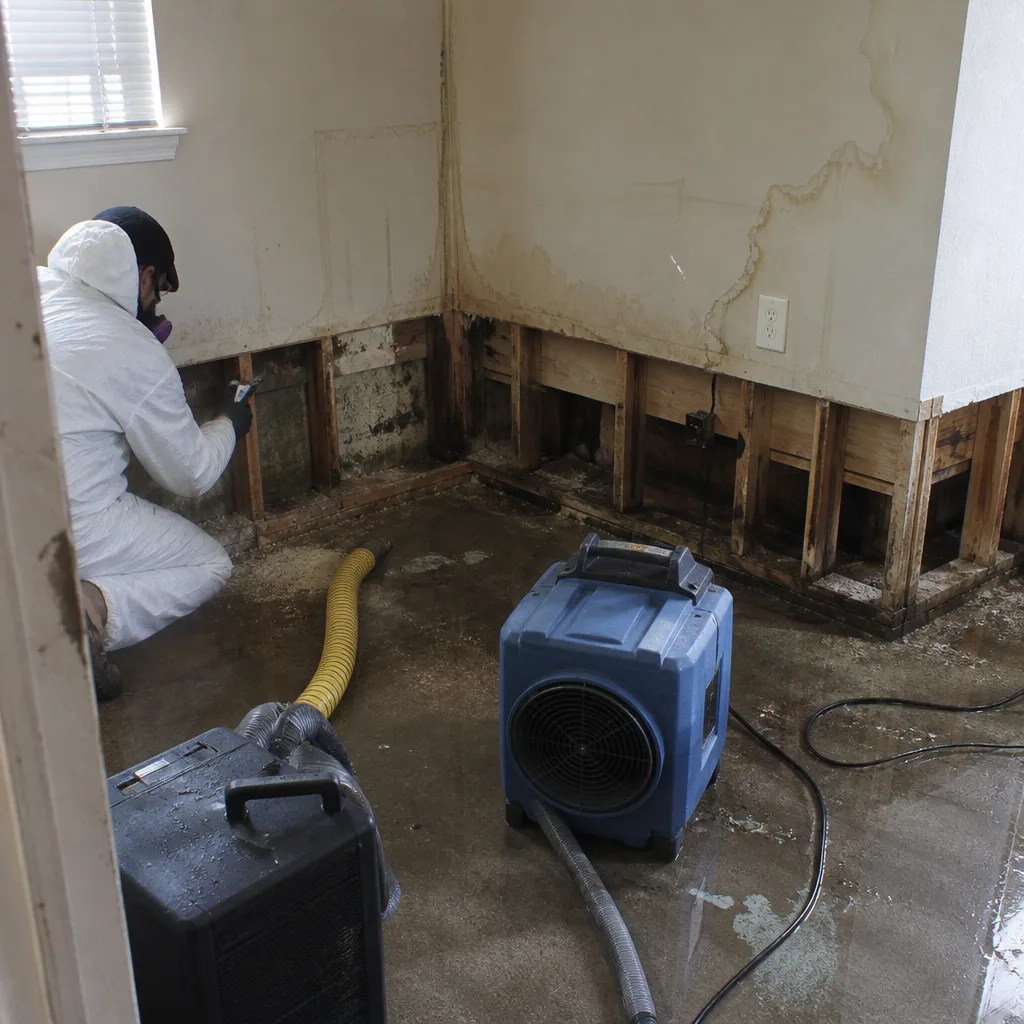
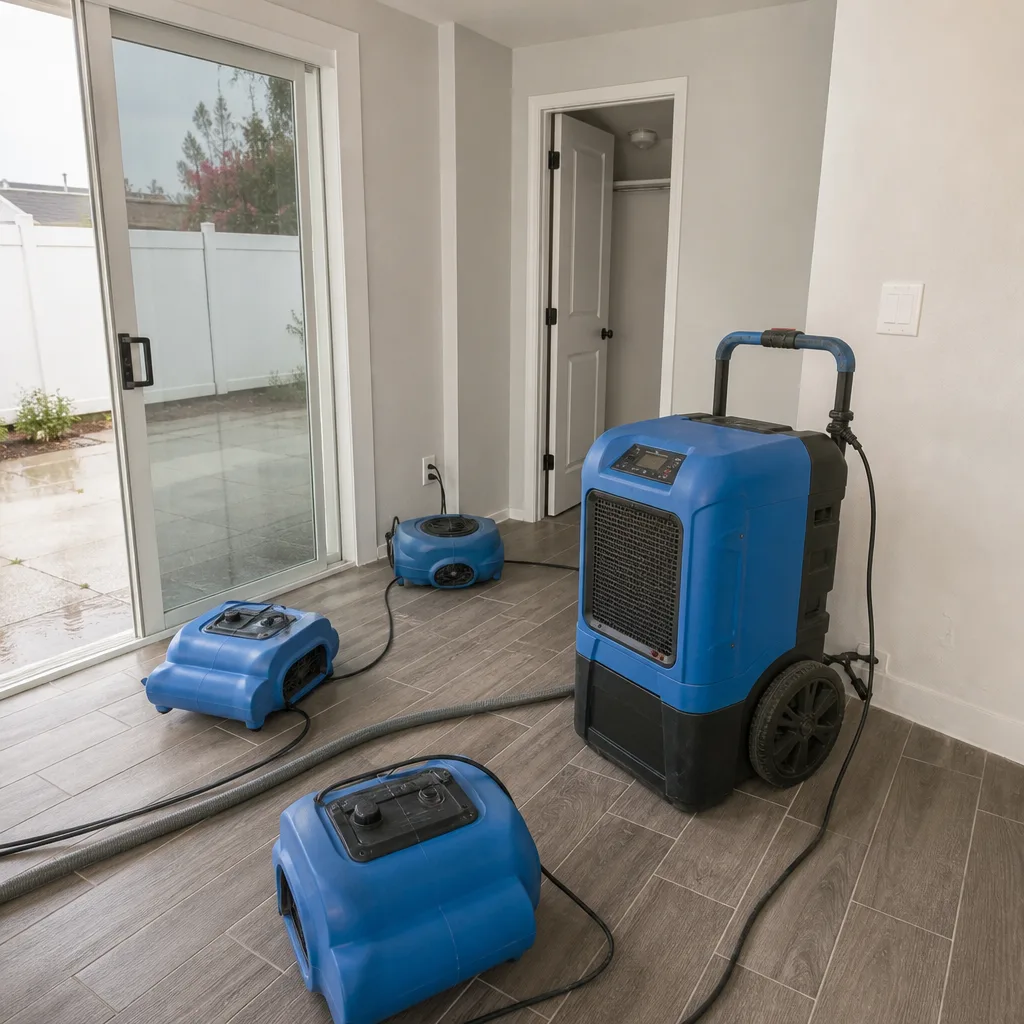
- Any reading that doesn’t drop after 72 hours with fans running: Passive drying won’t fix hidden moisture. Professional drying equipment running 24/7 may be needed. We use Dri-Eaz and Phoenix drying systems on these jobs, the same professional-grade gear used on commercial water losses. Residential box fans aren’t built for structural drying.
A meter is also the best tool for confirming that a leak has actually stopped. After a repair, take a reading. Log it. Check again a week later. The number should be stable or falling. If it’s rising, the repair didn’t hold.
Building a Dated Maintenance Log for Insurance Claims
Insurance companies love paper trails. They don’t love unexplained water damage discovered months after the fact. A dated maintenance log turns a homeowner from “I think I checked the shower last year” into “Here’s my inspection record with dated readings and the specific actions I took.” That distinction matters when a claim gets reviewed by an adjuster.
Here’s how to build a simple log that will actually hold up:
- Use a physical notebook or a spreadsheet. Both work. The key is that entries are dated and specific. If you use a digital file, save photos alongside it.
- Log every inspection with the date, the areas checked, and the findings. “10/15/2025 – Checked shower caulk in master bath. Re-caulked pan-to-wall joint. Replaced washing machine supply hoses. Moisture readings under kitchen sink: 6-8%.”
- Keep receipts for maintenance materials. The caulk, the supply hoses, the gutter screens. A receipt proves you did maintenance, which supports your position that you weren’t negligent.
- Photograph anything you fix, before and after. Insurance adjusters don’t need professional photos. Phone photos with a visible date stamp are fine.
- Record moisture meter readings with locations. A reading of “8%” on a random wall is useless. “8% at base of west wall, guest bedroom, after November 3 storm, measured 11/4” is useful.
- Store the log somewhere accessible when you travel. If a pipe bursts while you’re away, the log shows a pattern of maintenance and helps establish that the damage was sudden and accidental, not long-term neglect.
One of the most common insurance disputes is whether water damage was “sudden and accidental” (generally covered) or “long-term seepage” (frequently excluded). Your maintenance log is the evidence that supports the covered category. If you can show a baseline of dry readings from three months before a loss, and wet readings after, you’ve documented the timeline the adjuster needs.
Common Mistakes to Avoid
- Caulking over old caulk. New silicone doesn’t bond to old silicone. The repair fails within months, and you’ve spent time and money without fixing the problem. Remove the old sealant completely and clean the joint before applying fresh.
- Ignoring a small ceiling stain because it hasn’t spread. A water stain on a ceiling means water has entered the building cavity. Even if the leak stopped, the wet drywall and insulation behind the stain are growing mold. Stains don’t heal themselves.
- Setting the irrigation system on auto-pilot and never walking the zones. In San Diego, a sprinkler head that’s been hit by a gardener and now sprays the stucco can run for months without anyone noticing. You pay for the water twice: on the bill and in the damage.
- Assuming a water heater will fail gracefully. It won’t. It fails catastrophically, usually when you’re not home. Replace tanks at the 10-year mark if they haven’t been flushed annually, and know that San Diego hard water shortens that timeline.
- Using a regular vacuum to dry a wet carpet. Water in the padding and subfloor won’t come up with a shop vac. The carpet surface can feel dry while the padding below is saturated and growing microbial activity. Professional extraction and drying equipment is designed for this.
- Thinking a moisture meter is a professional tool only. A $35 meter gives you data you can act on before a small problem becomes a $5,000 repair. It’s the cheapest insurance you’ll ever buy.
- Waiting to see if a leak “gets worse” before acting. Water damage doesn’t stay contained. It spreads horizontally through drywall, wicks up through baseboards, and follows floor joists. Every day of delay adds drying time and often adds structural replacement.
When to Call a Professional
Some findings on this checklist are DIY maintenance items. Others require a trained eye and professional equipment. Call a professional if you see any of these: water staining on a ceiling below a bathroom or appliance, a moisture meter reading above 20% in wood or 15% in drywall that doesn’t drop within 72 hours, a musty odor that persists after cleaning, visible mold growth larger than a dinner plate, a water heater leak with water outside the pan, or any water event that soaked carpet and pad. Dryden Restoration San Diego offers free estimates in San Diego for water damage assessments, and our technicians arrive with professional-grade moisture detection equipment from Dri-Eaz and Phoenix to map the full extent of the damage before recommending a scope of work. Call (619) 453-0410 and a live person will answer, 24/7.
Frequently Asked Questions
Twice a year, with a full inspection in October before the rainy season and a lighter check in spring. The October inspection should cover roof flashings, gutters, exterior drainage, exterior caulking, and irrigation. The spring check should focus on interior systems: showers, under-sink cabinets, appliance hoses, and the water heater. San Diego’s wet season is compressed, so the pre-rain inspection is the most important of the two.
Most standard homeowners policies cover sudden and accidental water damage, like a burst supply line or a water heater tank rupture. They generally exclude damage from long-term seepage or lack of maintenance, like a shower pan that leaked for years. This is why a dated maintenance log matters. It documents that you performed reasonable upkeep and that the damage was not the result of neglect. If you’re dealing with an active claim, photograph everything before cleanup begins and document all communications with your adjuster.
Costs vary with the scope. A small cabinet-base leak with limited drying might run $800 to $1,500. A shower pan failure requiring tile demo, framing repair, and full drying typically runs $3,500 to $7,000 depending on access and finishes. A whole-house supply line rupture with multiple rooms of flooring removal and structural drying can exceed $10,000. The restoration company should provide a written scope and price before starting work. At Dryden, every job includes a written price before any work begins, and the number doesn’t change at the door.
Mold growth can begin within 48 to 72 hours in San Diego’s climate, especially during the warm months when indoor temperatures support rapid colonization. Porous materials like drywall, carpet pad, and particle board are the most vulnerable. This is why professional drying with air movers and dehumidifiers matters in the first days after a loss. The goal is to drop the moisture content below the mold-growth threshold before colonies establish.
Fans and open windows will dry surface moisture but rarely reach water trapped in wall cavities, under flooring, or inside cabinetry. Water in those hidden spaces needs directed airflow and controlled dehumidification, the kind of drying system professional restoration companies run. In San Diego’s coastal humidity, open-window drying can actually slow the process by introducing moist air. If the affected area is more than a few square feet, or the water came from a contaminated source, professional drying is the safer path. Our Water Damage Restoration in San Diego service includes full structural drying with professional-grade equipment.
First, stop the water source if you can find it and do so safely. Shut off the water at the fixture or the main valve. Then move furniture and belongings out of the wet area. If water is coming through a ceiling, place a bucket and create a small controlled drain hole at the lowest point of the bulge. Call a restoration company that offers 24/7 live phone support. The faster extraction and drying begin, the less material gets replaced and the lower the final cost. For fire-related water issues, see our Fire Damage Restoration in San Diego page, and for mold concerns arising from water damage, our Mold Remediation in San Diego overview covers the assessment and removal process.
The Bottom Line
Water damage in San Diego homes almost never starts with a dramatic pipe burst. It starts small: a failed caulk joint, a slow irrigation drip, a supply hose past its service life, a water heater corroding quietly in the garage. The maintenance checklist above exists so you catch those small failures before they become structural ones. Inspect twice a year. Buy a moisture meter and use it. Log everything with dates and readings. Replace caulk, hoses, and water heaters on service-life schedules rather than waiting for visible failure. And when a problem exceeds what you can see and handle, call a professional who will give you a written price and a written guarantee. That’s how San Diego homeowners protect the biggest asset they own.
Written by Carl Brandt, Owner at Dryden Restoration San Diego, serving San Diego since 2005.
If you’ve found a maintenance issue that needs a professional look, call Dryden Restoration San Diego home at (619) 453-0410 for a free estimate. We’ll assess the damage, give you a written price, and explain exactly what needs to happen next.
See the difference
 Before
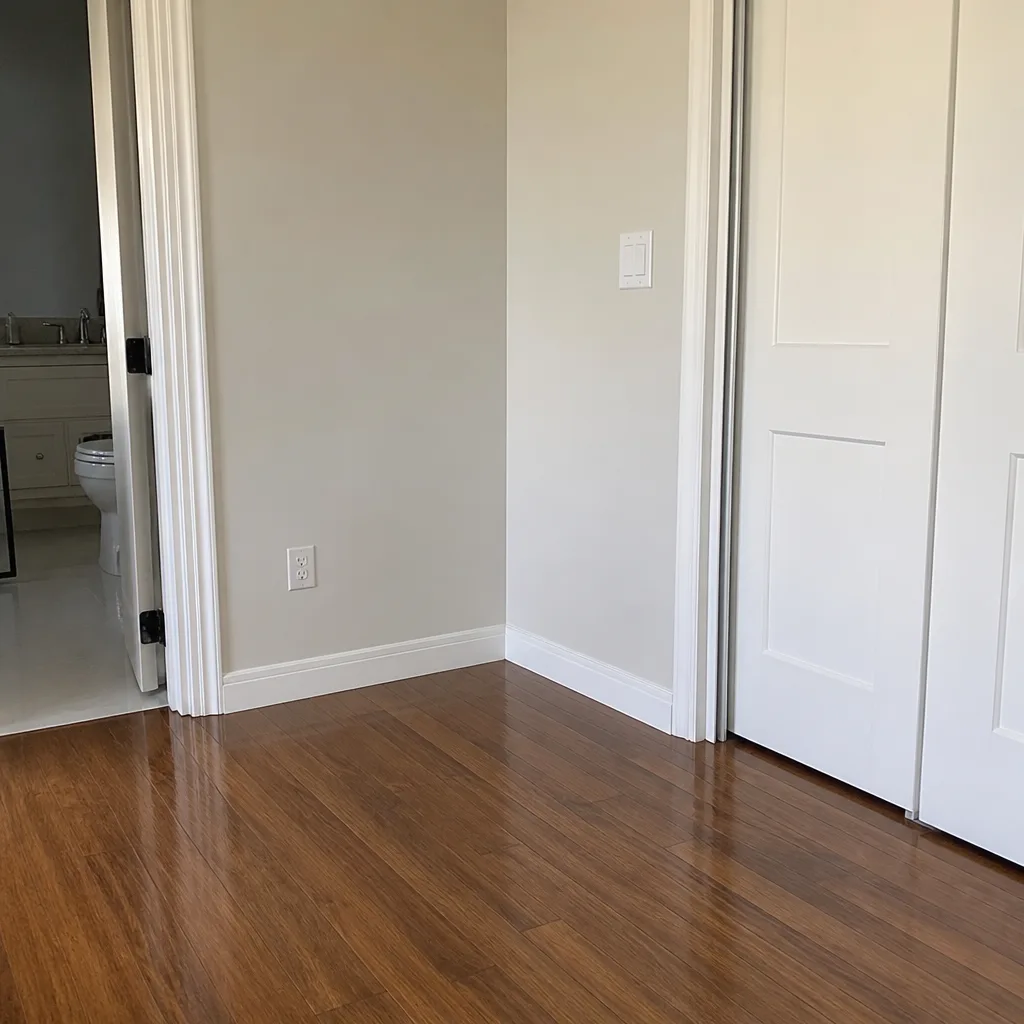
 After
After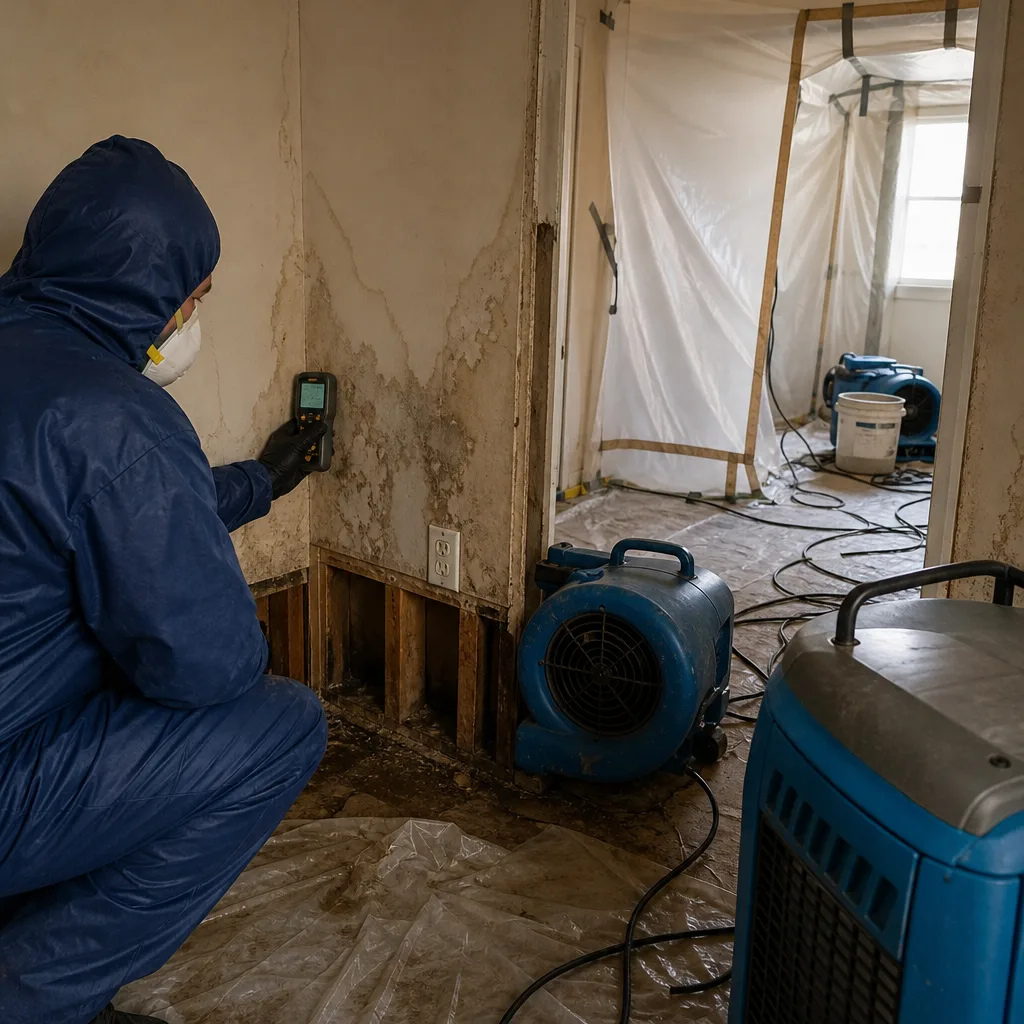 Before
 After
After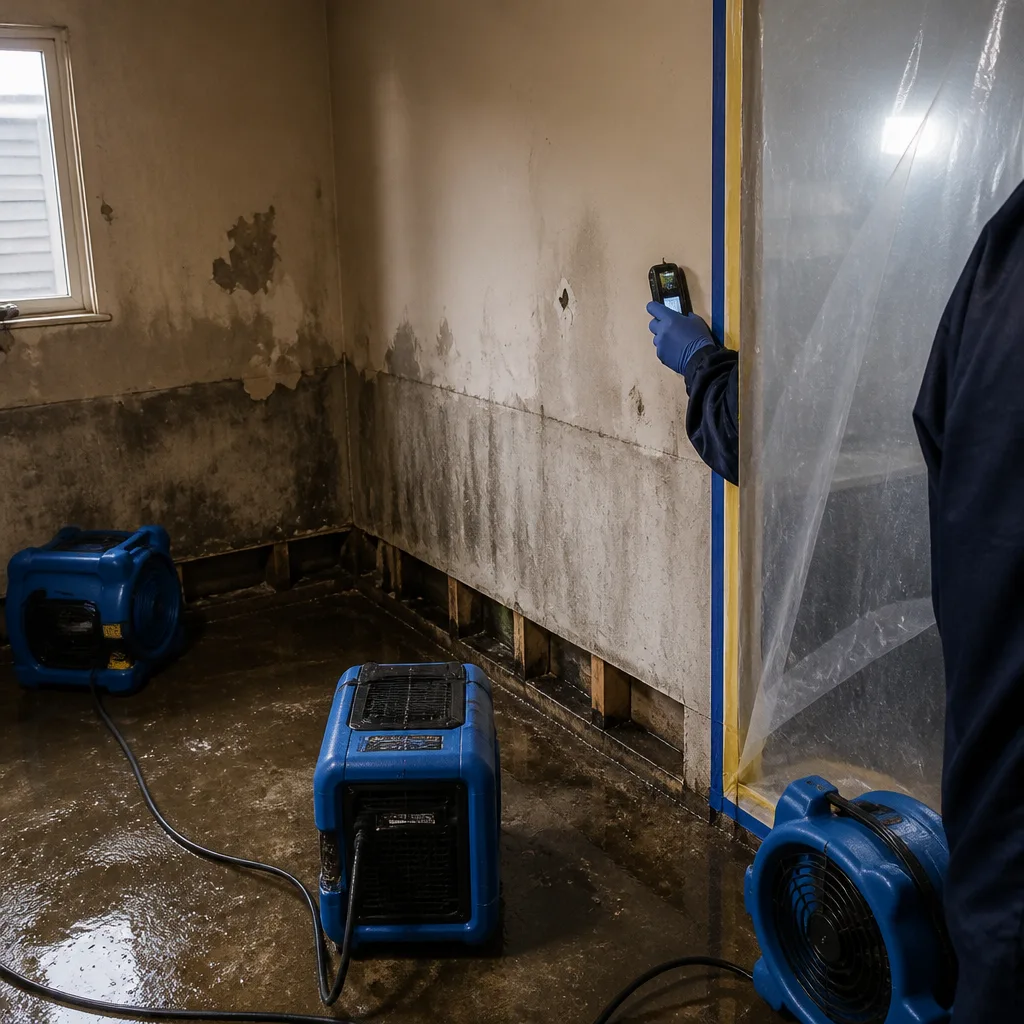 Before
 After
After